Uncategorized
How to Connect Your Computer to the TV for Streaming and Entertainment
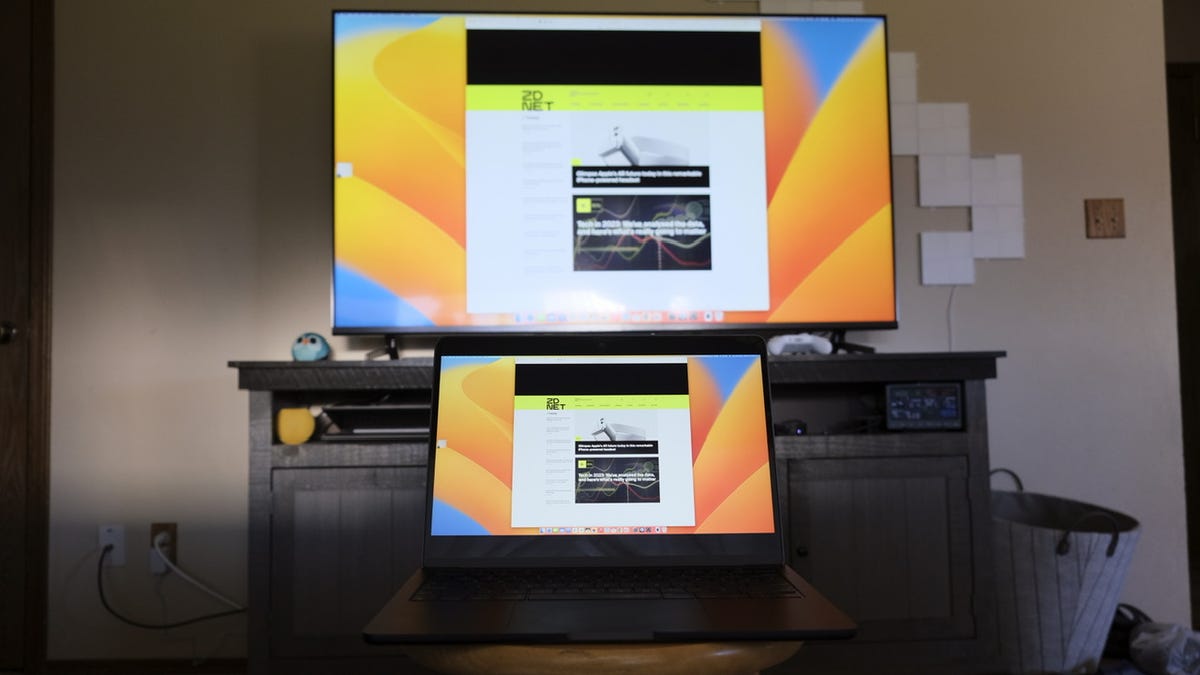
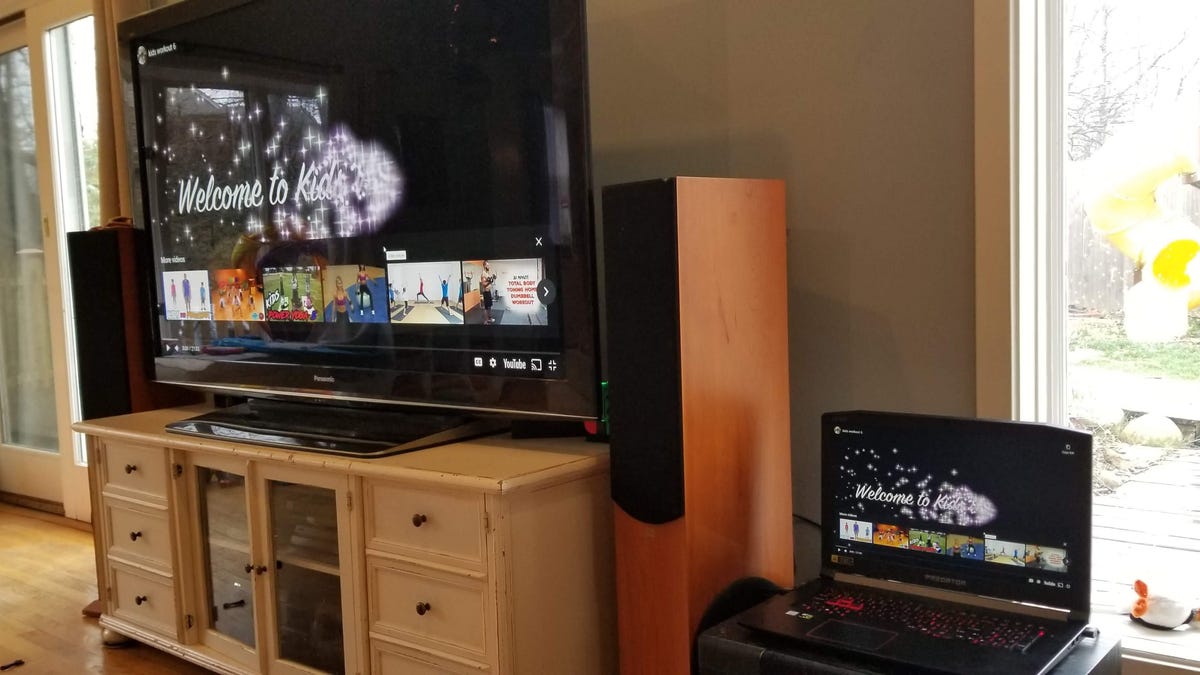
In today’s digital age, streaming your favorite content from your computer to your TV is an excellent way to enjoy movies, shows, games, and videos on a larger screen. Whether you’re watching Netflix, YouTube, or playing a video game, connecting your computer to your TV can enhance the experience. This guide will walk you through various methods to connect your computer to your TV, offering you flexibility based on your equipment and preferences.
Benefits of Connecting Your Computer to a TV
Before we dive into the how-to, let’s look at the advantages of connecting your computer to your TV:
- Bigger Screen: Enjoy movies, games, and videos on a larger display for better visuals.
- Better Sound: TVs often come with superior speakers compared to computer monitors.
- Enhanced Streaming: Stream services like Netflix, Hulu, and Amazon Prime directly to your TV.
- Multi-tasking: Use your computer as a media hub while viewing or sharing content on the TV.

What You’ll Need
Regardless of the connection method you choose, you’ll need a few essentials:
- Computer: A laptop, desktop, or even a tablet with streaming capability.
- TV: A smart or regular TV with the necessary input ports (HDMI, VGA, etc.).
- Cable/Adapter: Depending on the connection type, you’ll need the appropriate cable (HDMI, VGA, USB-C, etc.).
- Wi-Fi: For wireless connections, a stable Wi-Fi connection is essential.
Method 1: Using an HDMI Cable (Wired Connection)
One of the simplest and most reliable ways to connect your computer to your TV is using an HDMI cable. HDMI provides both video and audio signals, so you only need one cable.
Step-by-Step Guide:
- Check the Ports: Ensure both your computer and TV have an HDMI port. Most modern devices do, but older computers may require adapters.
- Connect the HDMI Cable: Plug one end of the HDMI cable into your computer’s HDMI port and the other end into your TV’s HDMI input.
- Select the HDMI Input on Your TV: Use your TV remote to switch to the correct HDMI input (e.g., HDMI 1, HDMI 2).
- Configure Display Settings on Your Computer:
- On Windows: Right-click on the desktop and select Display settings. Under Multiple displays, choose to either duplicate or extend your screen.
- On macOS: Go to System Preferences, then Displays, and select Mirror Displays or configure the display arrangement.
- Enjoy Your Content: Once connected, you can stream, browse, or play media directly from your computer onto your TV.

Method 2: Using Chromecast (Wireless Connection)
If your TV has a built-in Chromecast feature or you have a Chromecast device plugged into your TV, you can wirelessly stream content from your computer using Google Chrome.
Step-by-Step Guide:
- Set Up Chromecast: Ensure your Chromecast is set up and connected to the same Wi-Fi network as your computer.
- Open Google Chrome: On your computer, open the Google Chrome browser.
- Click the Three Dots in the Top-Right Corner: In Chrome, click the three vertical dots, then select Cast.
- Choose Your TV: A list of available devices will appear. Select your TV or Chromecast device.
- Stream Your Content: You can now stream videos from supported websites (like YouTube or Netflix) or cast your entire desktop to the TV by selecting Cast Desktop.
Method 3: Using Apple AirPlay (For Mac and Apple Devices)
If you have a Mac and an Apple TV (or AirPlay-enabled smart TV), you can use AirPlay to wirelessly connect your Mac to the TV.
Step-by-Step Guide:
- Connect to the Same Network: Make sure both your Mac and the TV or Apple TV are connected to the same Wi-Fi network.
- Enable AirPlay on Your TV: If using an Apple TV, make sure AirPlay is enabled in the settings.
- Select the AirPlay Icon: On your Mac, click the AirPlay icon in the top-right corner of the screen (next to the volume and Wi-Fi icons).
- Choose Your TV: Select the TV or Apple TV from the list of available devices.
- Mirror or Extend Display: You can either mirror your Mac’s screen or extend it to the TV. Choose the option that suits your needs.
- Start Streaming: Now you can stream videos, display presentations, or enjoy any other content directly from your Mac to your TV.

Method 4: Using a VGA or DisplayPort Cable (Wired Connection)
For older TVs or computers without HDMI ports, you may use a VGA or DisplayPort cable. These connections only transmit video, so you’ll also need a separate audio connection (typically through a 3.5mm audio jack).
Step-by-Step Guide:
- Check the Ports: Ensure both your computer and TV have VGA or DisplayPort inputs. If not, you might need an adapter (e.g., VGA-to-HDMI).
- Connect the Video Cable: Plug the VGA or DisplayPort cable into your computer and TV.
- Connect Audio: If using VGA or DisplayPort, connect a 3.5mm audio cable from your computer to the TV or external speakers.
- Switch Input on TV: Select the appropriate input on your TV (e.g., VGA or DisplayPort).
- Adjust Display Settings: On your computer, go to display settings and configure your screen to extend or duplicate the display.
Method 5: Using DLNA (Wireless Connection)
Some smart TVs support DLNA (Digital Living Network Alliance), which allows you to wirelessly stream content from your computer without the need for additional software or hardware.
Step-by-Step Guide:
- Enable DLNA on Your TV: Make sure DLNA is activated in your TV settings.
- Install a DLNA-Compatible Software on Your Computer: Install software like Plex, Windows Media Player, or Serviio that supports DLNA streaming.
- Stream Your Content: Launch the software on your computer, find your TV in the list of available devices, and start streaming your media.
Method 6: Using HDMI to USB-C or Mini DisplayPort (For Laptops with Limited Ports)
If your laptop only has a USB-C port or Mini DisplayPort, you can use an appropriate HDMI adapter to connect it to your TV.
Step-by-Step Guide:
- Get the Right Adapter: Purchase a USB-C-to-HDMI or Mini DisplayPort-to-HDMI adapter.
- Connect the Adapter: Plug the adapter into your laptop’s USB-C or Mini DisplayPort, and connect the HDMI cable from the adapter to your TV.
- Switch Input on Your TV: Use your TV remote to change to the correct HDMI input.
- Adjust Display Settings: Configure your laptop’s display settings to extend or duplicate the screen.
Conclusion
Connecting your computer to a TV for streaming and entertainment is a great way to enhance your viewing experience. Whether you prefer a wired connection with HDMI, a wireless option like Chromecast or AirPlay, or an older method like VGA, there are multiple ways to achieve a seamless connection. Choose the method that best suits your devices, and enjoy a more immersive entertainment experience with ease.


