Uncategorized
How to Upgrade Your PC’s RAM for Improved Performance
Upgrading your PC’s RAM (Random Access Memory) is one of the most cost-effective ways to enhance your computer’s performance. If your system has started to feel sluggish or if you’re running resource-heavy applications like video editors, 3D rendering software, or modern games, increasing your RAM can significantly improve speed and multitasking capabilities. In this guide, we’ll walk you through the steps on how to upgrade your PC’s RAM for optimal performance.
Why Upgrade Your RAM?
Before diving into the steps, let’s first understand why upgrading RAM can give your computer a noticeable performance boost:
- Multitasking: More RAM means your PC can handle more programs running at once. If you find your system slowing down when you open multiple browser tabs, have apps running in the background, or run demanding software, more RAM will improve responsiveness.
- Speed: With increased RAM, data that would normally need to be swapped between your hard drive and memory is processed faster, allowing applications to load more quickly.
- Gaming Performance: Many modern games require more RAM for smooth performance. Upgrading your RAM can reduce lag and improve the overall gaming experience.
- Productivity Applications: Programs like Adobe Photoshop, Microsoft Office, and video editors (e.g., Adobe Premiere Pro) rely heavily on RAM for smooth operation. Upgrading helps these applications run without crashes or delays.
If you’ve noticed your PC becoming slower, freezing, or stuttering during heavy tasks, it may be time to add more memory.

Step 1: Check Your Current RAM Configuration
Before purchasing any new RAM, you need to check your system’s current configuration to ensure compatibility. Here’s how to do that:
For Windows:
- Open the Task Manager: Right-click the Taskbar and select Task Manager or press Ctrl + Shift + Esc.
- Navigate to the Performance Tab: Click the Performance tab and select Memory from the list on the left.
- Check Installed RAM: This screen shows you how much RAM is installed and its usage. It also displays details such as memory speed, the number of slots used, and available slots for additional RAM.
- Determine RAM Type: You can also check the type and speed of your RAM, which is crucial for compatibility when purchasing upgrades.
For macOS:
- Click on the Apple Menu: Click the Apple logo in the top-left corner of your screen.
- Select “About This Mac”: Click About This Mac to view your system information.
- View Memory Info: In the Overview tab, you’ll see the amount of RAM installed. You can click System Report and then select Memory to get more details on your RAM’s type and configuration.
Step 2: Determine How Much RAM You Need
The next step is deciding how much RAM is necessary for your use case. Here’s a general guide:
- 8GB RAM: Suitable for everyday tasks like web browsing, office productivity, and light gaming.
- 16GB RAM: Ideal for moderate multitasking, gaming, and more demanding applications like photo editing and programming.
- 32GB RAM: Recommended for high-performance tasks such as video editing, 3D rendering, and heavy gaming.
- 64GB RAM or more: Reserved for extreme workflows, such as professional video production, scientific simulations, or large-scale virtual machine setups.
Consider your usage habits to determine the ideal amount of RAM. Upgrading from 8GB to 16GB is usually sufficient for most users, while content creators or gamers may benefit from 32GB or more.

Step 3: Verify Your Motherboard’s Compatibility
Before purchasing new RAM, it’s crucial to check if your motherboard can handle the extra memory. Motherboards have specific limits on the amount of RAM they can support, as well as restrictions on the type and speed of memory.
To check your motherboard’s compatibility:
- Consult the Manual: Your motherboard’s manual should list the supported RAM types, capacities, and speeds.
- Use a Compatibility Tool: Websites like Crucial or Corsair offer tools where you can input your system’s model number, and they will recommend compatible RAM modules.
- Check RAM Slots: Ensure that your motherboard has available slots for additional RAM. Most desktops have 2–4 RAM slots, while laptops typically have 2.
Step 4: Choose the Right RAM
When purchasing new RAM, it’s essential to pick the right type and specifications for compatibility. Here are some key factors to consider:
RAM Type (DDR Generation):
- DDR4 RAM: Most modern PCs use DDR4 RAM. If your motherboard supports DDR4, it’s recommended to stick with this type for maximum speed and efficiency.
- DDR3 RAM: Older systems may use DDR3. DDR3 is slower than DDR4, and it’s not interchangeable, so you must match your existing configuration.
RAM Size:
- Stick with sizes that are compatible with your motherboard and meet your needs. RAM typically comes in 4GB, 8GB, 16GB, or 32GB modules.
RAM Speed:
- RAM speed (measured in MHz) affects your system’s performance. While higher-speed RAM is beneficial, make sure it’s supported by your motherboard and processor. For most users, 2133 MHz to 3200 MHz is ideal.
RAM Modules:
- Dual Channel vs. Single Channel: For better performance, purchase a dual-channel kit (two RAM sticks of the same size) to take advantage of the increased bandwidth. Dual-channel memory can significantly boost performance over single-channel configurations.

Step 5: Install the New RAM
Once you’ve purchased compatible RAM, it’s time to install it. Here’s how you can install it safely:
For Desktop PCs:
- Turn Off Your PC and Unplug It: Always power down and unplug your PC before opening it up.
- Open the Case: Use a screwdriver to remove the screws from the side panel and take it off to access the internal components.
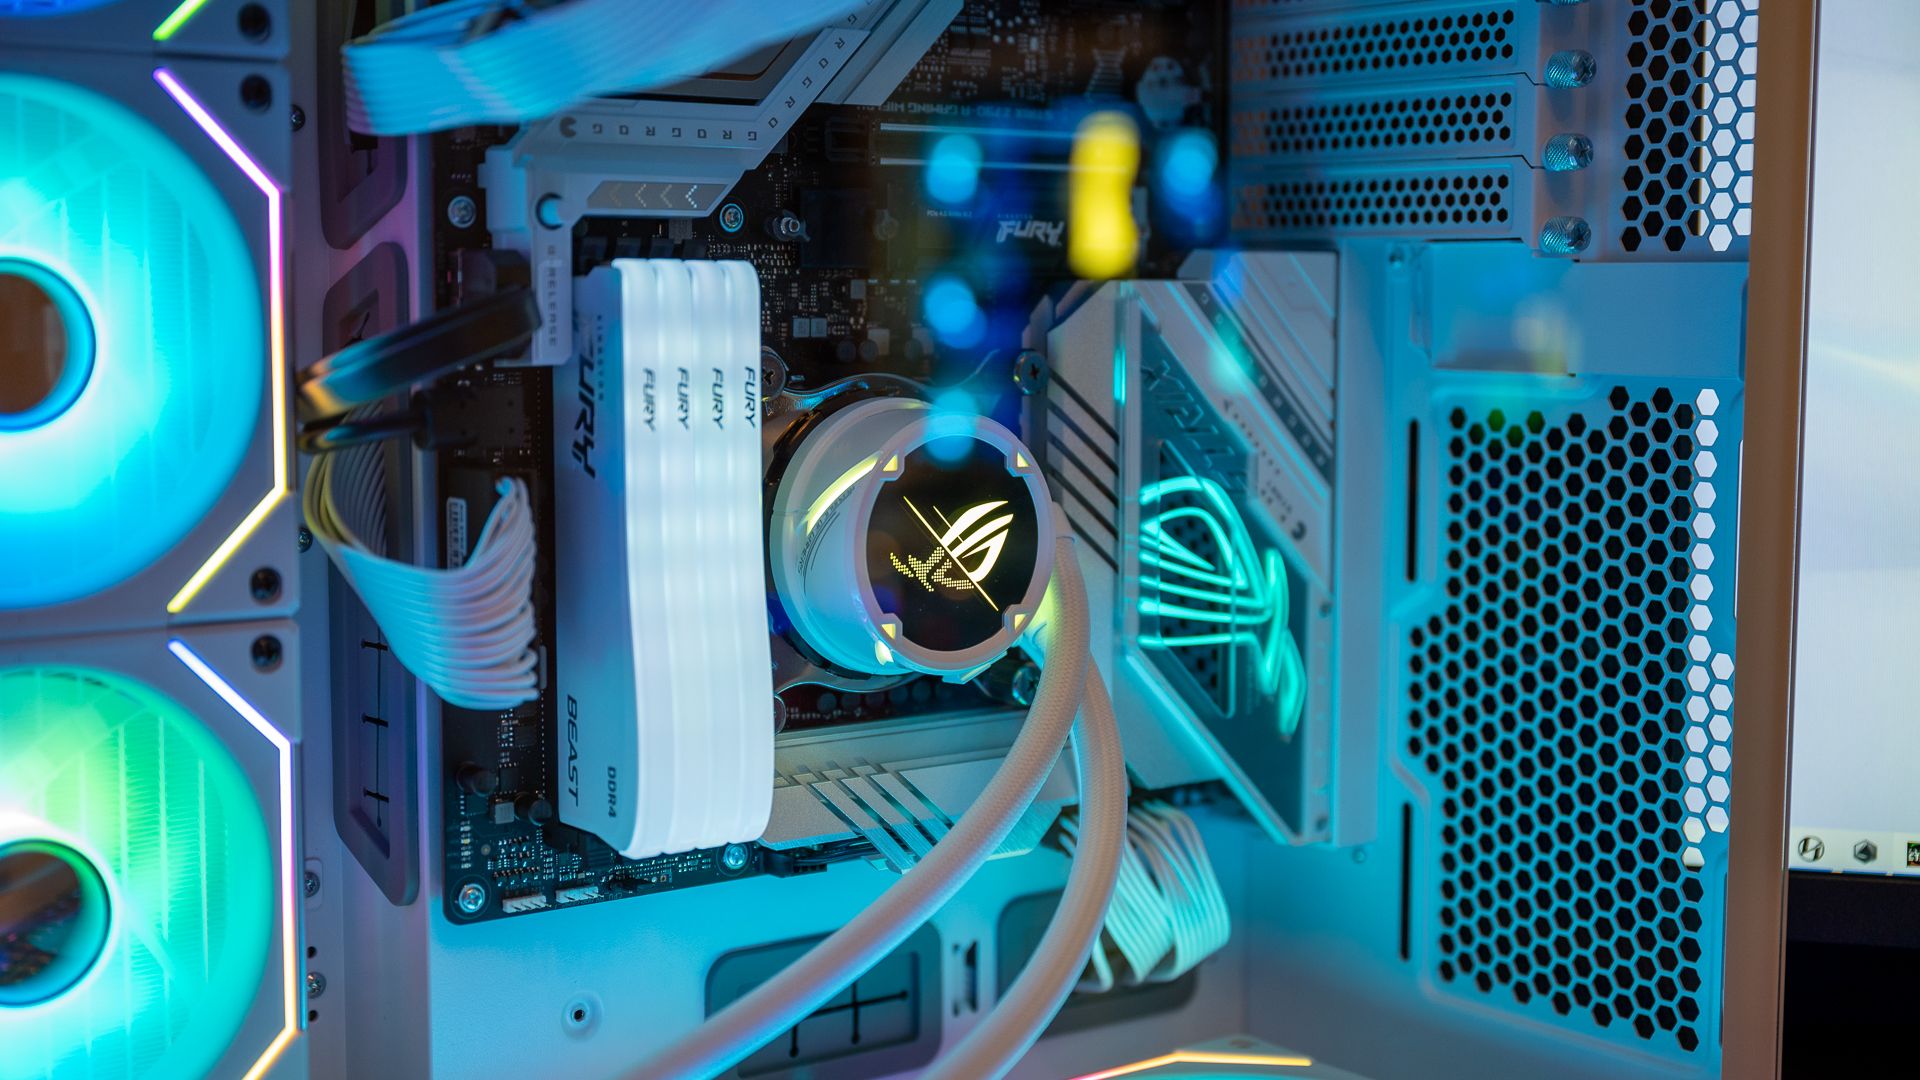
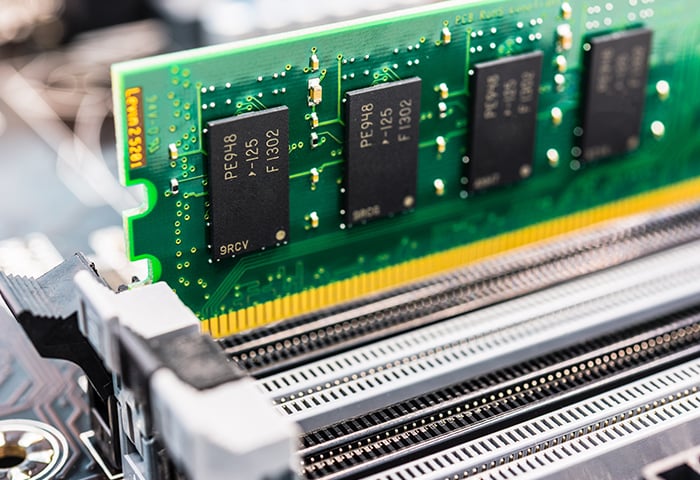
- Locate the RAM Slots: RAM slots are typically located near the processor. They are long, thin slots with clips on both ends.
- Insert the New RAM: Line up the notches on the RAM stick with the slot and gently press it down until the clips snap into place.
- Reassemble Your PC: Put the side panel back on, reattach any screws, and plug your PC back in.
- Power On and Check: Turn on your PC and check that the new RAM is detected in your system’s BIOS or Task Manager (Windows) or About This Mac (macOS).
For Laptops:
- Turn Off Your Laptop and Unplug It: Disconnect the power supply and remove the battery (if removable).
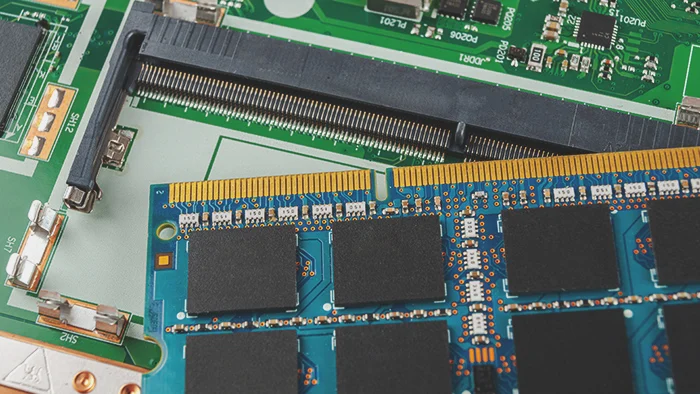
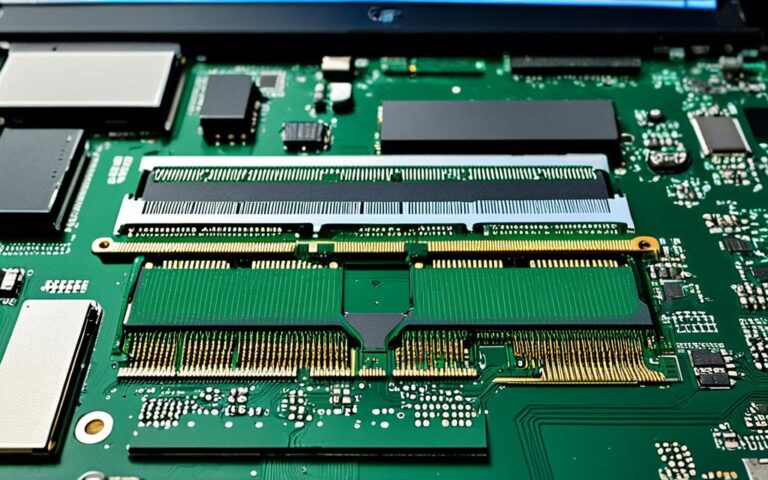
- Open the Memory Compartment: Most laptops have a panel that provides access to the RAM. You may need a small screwdriver to remove the screws.
- Insert the New RAM: Gently push the RAM into place at a 45-degree angle, and then press it down until it clicks.
- Reassemble and Power On: Once the RAM is installed, replace the panel, reinsert the battery (if removed), and power on your laptop.
- Check the New RAM: Make sure your system detects the additional memory in your system settings.
Step 6: Test the RAM
After installation, it’s important to run some tests to make sure the new RAM is functioning correctly. You can use software tools like MemTest86 (for Windows) or Apple Diagnostics (for macOS) to check for any errors or issues.
Conclusion
Upgrading your PC’s RAM is one of the easiest and most affordable ways to boost your computer’s performance. By following these steps—checking compatibility, choosing the right RAM, and installing it carefully—you’ll enjoy a faster, more efficient system capable of handling more demanding tasks. Whether you’re working, gaming, or editing content, upgrading your RAM will make a noticeable difference in your overall computing experience.


